Saturday, June 9, 2012

Garden Update!

Well we are finally past potential frost dates, and have all my plants outside!

The potatoes in the tower have all sprouted and are looking good:


We took chicken wire and zip tied it into a cylinder. We lined the bottom with garden fabric and tied it to the sides of the chicken wire.
The tower was filled with approx 8 inches of organic top soil and we planted the seed potatoes in the soil, then mulched the top with straw. After about 10-14 days, we began to see sprouts!

We also planted some potatoes in a mound in the ground, which seem to be growing a bit slower. There is only one bush of sprouts.


All of the peas have sprouted and are doing great!


The beans have sprouted but are going just a bit slow this year, and the zucchini is in the ground but we haven't had much sun since we put them in so they are a bit slow right now too.


The zucchini on the left was started a few weeks earlier. The ones on the right are growing slow!


Peonies and Green onions are growing like crazy though!


The rhubarb transplant took well and is growing well also.


I bought a blueberry plant and will plant it in a few days. I'm very excited, as I've wanted one for quite a while! I will update once I've got it in the ground. I have learned I should protect it with a net of some sort as the birds like the berries!

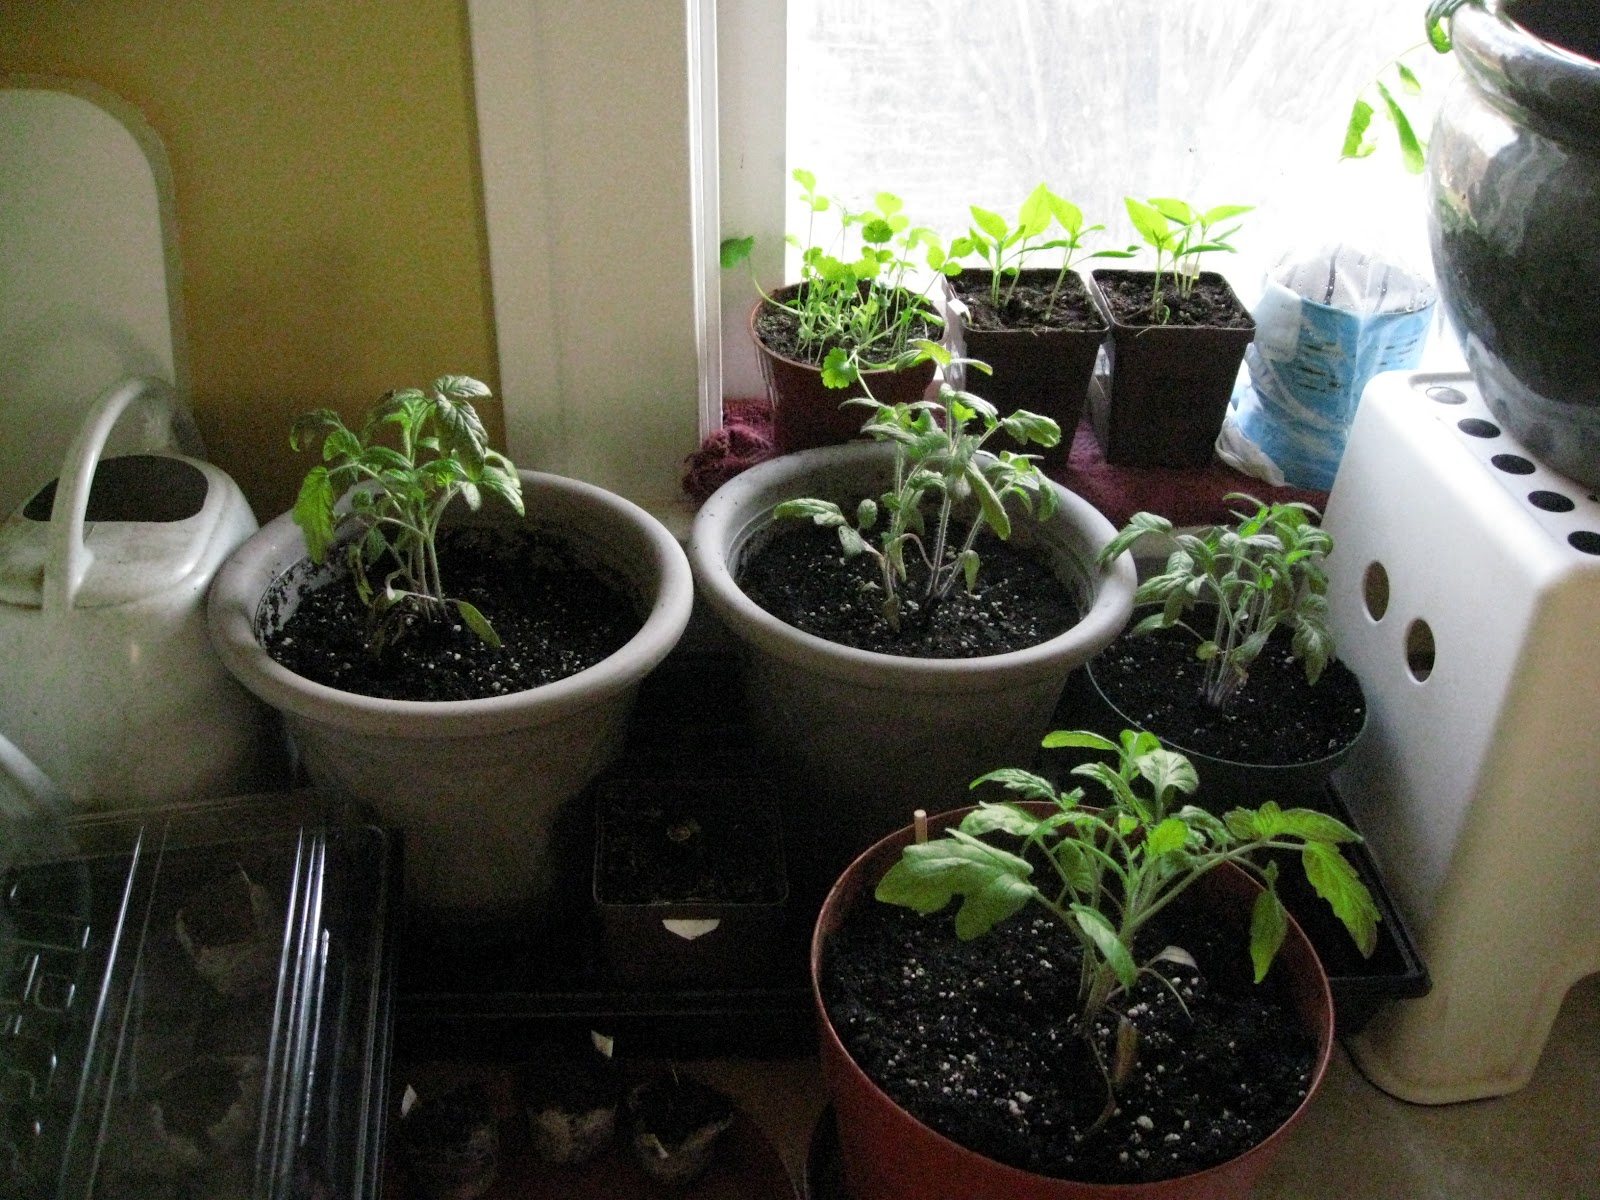
And last, here is a photo of my peppers and tomatoes in the greenhouse. I leave the flap open most days. The tomatoes will need to move soon to the ground or bigger pots!


DIY Greenhouse and small Kitchen decor

I made a very simple DIY greenhouse for my tomatoes (and maybe peppers) this summer! I took a cheap wooden utility shelf that I found free on kijiji (craigslist equivalent in canada) and bought two plastic drop sheets from the dollar store. I did take two of the shelves out in my greenhouse to give more vertical room for my tomatoes. I ended up not having tacks or a staple gun, so the plastic was attached with packing tape! It has held up quite well, and it only cost me $3 to make.


 Here's the finished product, minus the front flap:


For the front flap I took two screw hooks and put them in at the top of the shelf, hooked the plastic on each one, and it draped down over the front. 

It's worked very well for the last part of May, where we still have cooler nights and sometime danger of frost.

For a small kitchen decor project, I had some small red peppers saved from last summer that were dried out. I am going to try and grind some into a pepper powder, but also used some for this little project.
I took a few of the dried peppers and arranged them on the glass of a picture frame and closed it up. Quick, easy framed kitchen picture... dried peppers! It would really work with any dried item. It is harder with thicker items as the frame may not close well.


Monday, April 30, 2012

2012 Garden


After getting my first year of gardening under my belt I'm ready for another year, and getting an early start! Our growing season is short here in Calgary as our last "safe" frost date is the last weekend in May. After next week we can start putting root vegetables in the ground though!

This year we are going to be growing:
  • Roma Tomatoes - I picked these because they are great for fresh salsa, but also learned these are a determinant variety, so I will be canning a majority of them. I have 4 good size plants I started about a month ago!
  • Cherry Tomatoes
  • Jalapeno Peppers
  • Green Bell Peppers
  • Cucumbers
  • Yellow Zucchini Squash
  • Spinach
  • Carrots - purple and baby variety
  • Sugar and Snap Peas
  • Spinach
  • Basil
  • Cilantro
  • Rosemary
  • Green Onions
Other potentials:
  • Potatoes  - we might try growing these in a tower
  • Other salad leaves...
  • Onions - we tried this last year but did not get any harvest as a hail storm killed them all :( 
We only have two South facing windows in our house - the one in our kitchen is completely taken over by seedlings!


I also received a tomato plant that was started from a cutting in February - it exploded and is huge!


I will post updates throughout the summer to show our garden progress!
Our potential projects (pinterest inspired) include:
  • Gutter Salad Garden
  • Pallet Garden


One Pinterest/ Martha Stewart inspired project I've already started is using aluminum cans as planters. I cleaned and painted them, and sealed it with mod podge, hoping it would prevent rust. However I am starting some Basil seeds in one of the cans and unfortunately already see some rust. To prevent this in the future I'd advise a few things:

  • start your seedlings in another container and transport later (to avoid all the moisture a seedling requires that causes the rust...) 
  • Use another container that fits inside the can, so the can is just "decorative"
  • Use an anti-rust or other sealing agent to prevent rust!

 The blue can on the right shows the rust from all the moisture.....

Thursday, April 26, 2012

Garden time


Last year we used our back yard to do a garden share with some nearby friends. It was my first gardening attempt - it's been a learning process! But I thoroughly enjoyed it, and the food of course tasted GREAT so I'm looking forward to doing it again this year! I will blog our progress - we will likely have some pinterest inspired projects for our garden as well!

Here are some before and after photos from when we first we moved in - everything is overgrown...


We grew peas, zucchini, onions, carrots, and tomatoes. Here are many of our seedlings at the beginning:


My tomatoes were attacked pretty hard by aphids, so it was a lot of work. I had a Lemon Boy that unfortunately did not survive... so I was sad not to get any yellow tomatoes. Below is my sad remaining tomato plant. I still got some good tomatoes, but after the aphids were under control, the squirrels started stealing them!


We then had a hail storm which wiped out my zucchini plant and onions. We are still not sure if anything else was attacking the zucchini plant (pictured on the right). We had two, the one pictured on the left stayed healthy, but had such slow fruiting progress we never got a good zucchini from it to enjoy!


The purple carrots were my favorite though! They are the sweetest and most full of flavor carrot I've ever had! We also grew a baby carrot variety.


Our green onions grow like crazy every year and the peas did great. The flowers from the green onions are great to add to salads and other dishes.


 We also enjoyed some very nice flowers!

Peonies, Lilies, Black-Eyed Susan, Cosmos, Delphinum


Going to be hard to wait another month before I can start really planting outside! Last frost date is the end of May here in Calgary.... But we do have some tulips peeking up from the ground, and green onions have already sprouted! Next update, Garden Part 2 !

Wednesday, March 28, 2012

We're back!!!

Well after a VERY long break I've decided to try and start up my blog again. I will still write about "life, ideas, and other random bits..." so I'm keeping the title the same.

With my newly formed Pinterest obsession I decided my first new post should feature a DIY blog / Pinterest inspired "upcycle" project!

I have been searching for a buffet or bar type piece of furniture for my dining room for quite some time. My biggest priority was cost - I didn't want to spend hundreds of dollars on a nice buffet. After scouring used sale sites such as craigslist and kijiji I decided I could build one myself. I found some very nice plans on this wonderful DIY project site, Ana White, Homemaker. But once priced out my husband still wasn't pleased with the cost we were looking at. So I resorted to scouring thrift stores to find a unit I could modify to fit what I was looking for.

Finally I found a suitable buffet that would work!


My plan was to strip off the old finish and refinish it with a darker stain. Unfortunately this finish proved to be very difficult to remove and the darker stain did not penetrate to the wood enough. Instead I lightly sanded the entire piece and painted it with some navy blue paint I had on hand. I am actually glad the stain did not work as my living room is already full of the wood look and the contrast of a painted item is great!


And my camera is currently not working, but here is a poor ipod photo of it with my current decorations... I am still looking for decorations that may fit this area better but made do with what I have for now!


In the future when I become a bit more ambitious I may consider taking out the center drawers and installing wine glass racks. Currently I am using the cabinets for Wine and Liquor, and drinking glasses; and the drawers for wine stoppers, openers etc...

I'm not sure where my next post will take me, but this is a start!